
Welcome To LIDS BY DESIGN™
New to LIDS BY DESIGN™? You're in the right place.
Thousands of women use it daily for a naturally lifted, refreshed look
— no surgery needed.
The secret's in the placement. We'll show you exactly how.
Start With Clean Skin
The most important step most people skip.
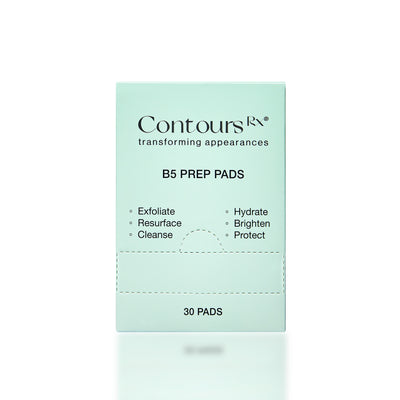
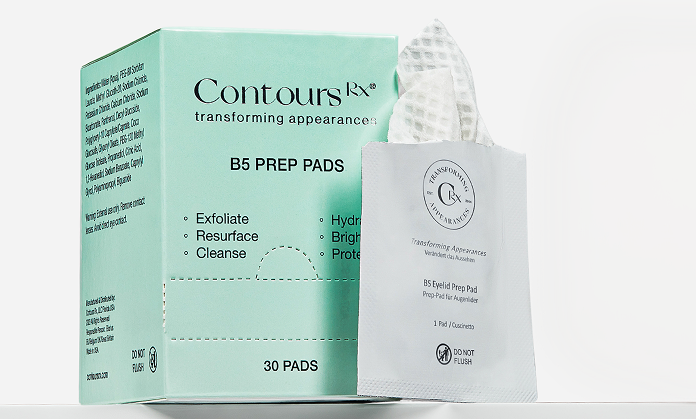
For the strips to adhere properly, your eyelids must be completely clean and dry. Wash your face, then use our B5 Prep Pads to exfoliate the skin on your eyelids.
Remove:
- Makeup
- Skincare
- Oils
- Sunscreen
- Moisturizer
Even a small amount of oil can affect adhesion.
Use B5 Prep Pads before application for the cleanest surface possible.
Remove The Strip Properly
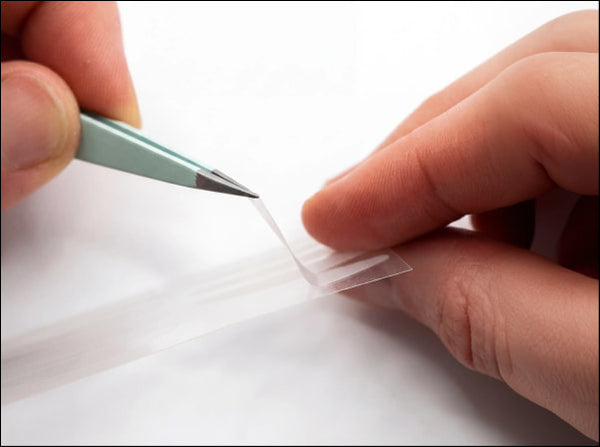
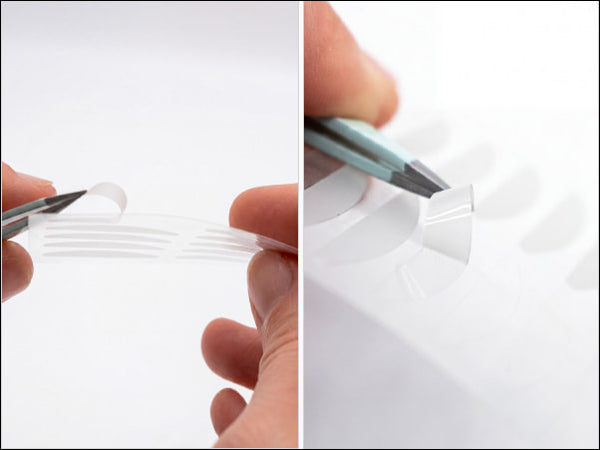
Before applying to your lids, remove the strip carefully from its backing.
Peeling it correctly keeps the strip's shape intact and makes placement much easier.
Find Your Natural Crease
Every eye is different.
There is no "one perfect placement."
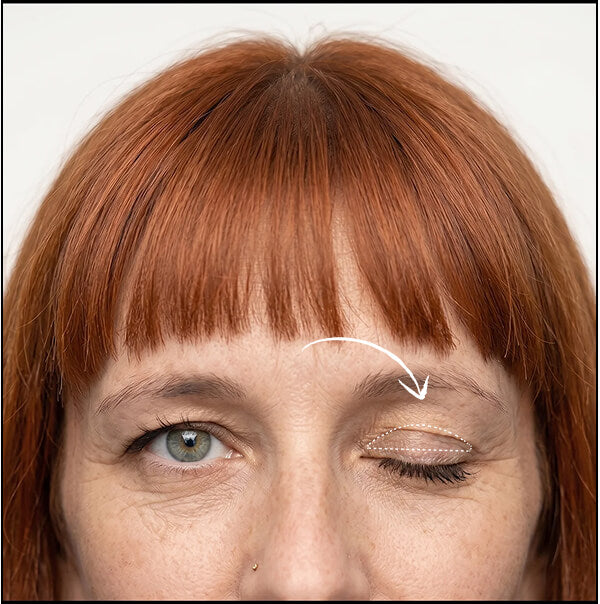
The goal is to place the strip where your eyelid naturally folds. When applied correctly, the strip works with your eye shape to create a natural-looking lift.
Eye Shape Examples
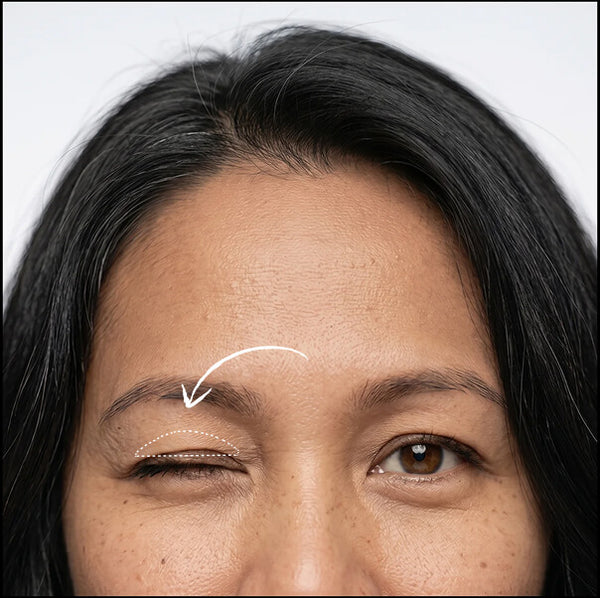
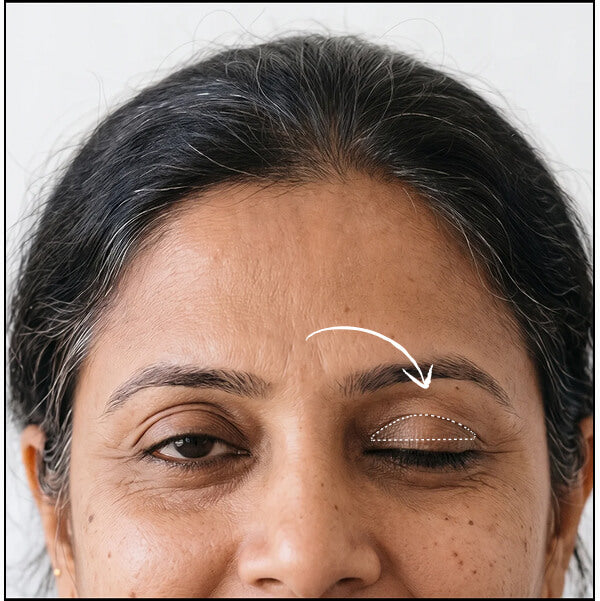
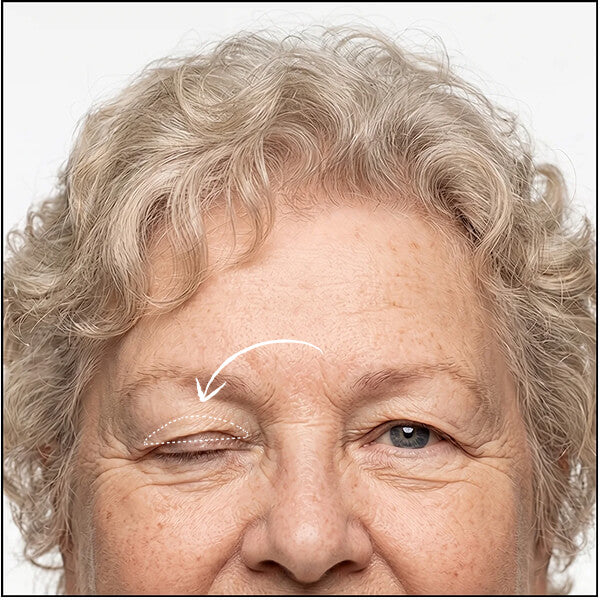
Press & Hold
Using the applicator, gently place the strip into your natural crease and press lightly to secure it in place. Then slowly open your eye and check the lift.
The strip should disappear into the crease. If you can clearly see it, try repositioning slightly lower or deeper into the fold.
Chat with our Beauty Support Team or schedule a personalized consultation for additional assistance.
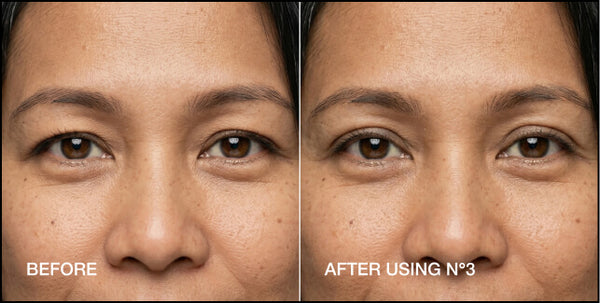
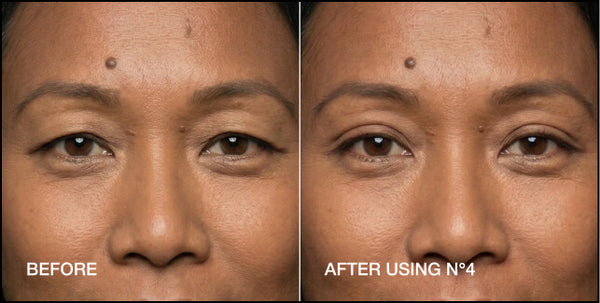
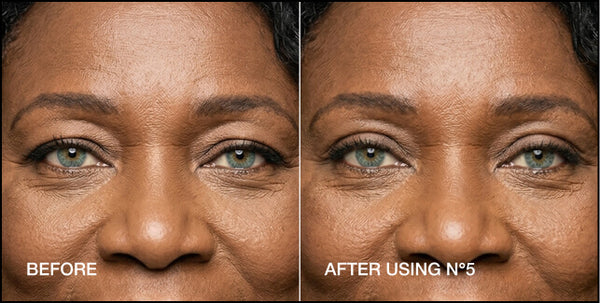
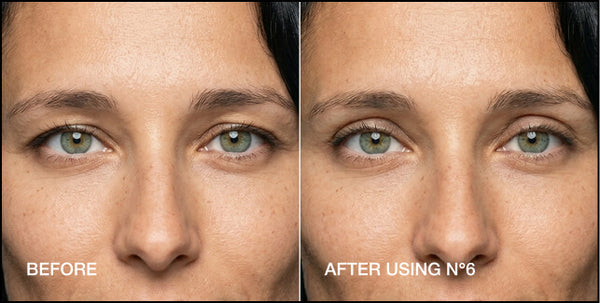
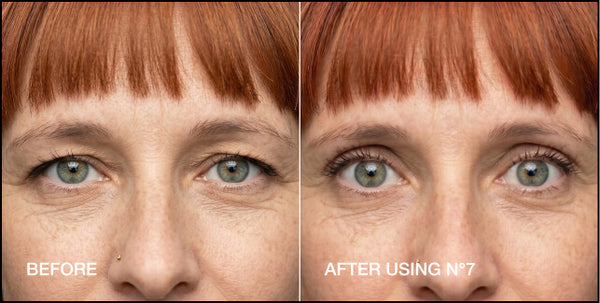
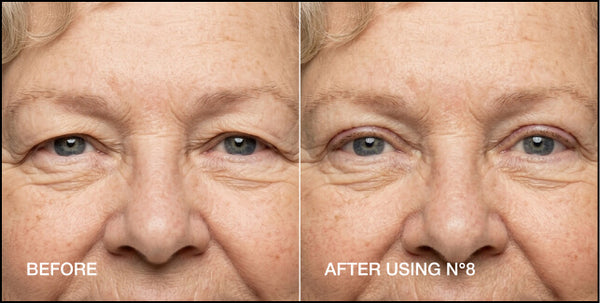
Check Your Results
When properly positioned, the strip should blend naturally into your crease and create a more open, refreshed appearance. If you can easily see the strip, try moving it slightly lower into the fold — small adjustments can make a big difference.


Common Mistakes
Why Can I See The Strip?
Usually one of these reasons:
- Applied too high
- Wrong size selected
- Eyelid wasn't fully cleaned
- Strip wasn't placed inside natural crease
Small placement changes often make a big difference.
Why Won't My Strip Stick?
The most common cause is oil on the eyelid.
Try:
- Cleaning again
- Allowing skin to fully dry
- Avoiding moisturizer near eyelids
- Using B5 Prep Pads before application
Why Doesn't It Look Like The Photos?
Every eye shape is unique. Many customers experiment with 2-3 placements before finding their perfect position — that's completely normal. Most users become significantly more confident after just a few applications.
Pro Application Tips
For Makeup Wearers
Apply LIDS BY DESIGN™ before eyeshadow and eyeliner.
The first application is about learning. The second gets easier. By the third or fourth application,
most customers have found their ideal placement and can apply strips in minutes.
Think of it like learning eyeliner — a little practice goes a long way.
Need More Help?
Watch tutorials & FAQs — our team is here to help you get the best results possible.
Frequently Asked Questions
Your answer goes here.